Showing posts with label sewing. Show all posts

Friday, November 18, 2011

Clothes on the cheap/extend summer clothing through the cold months

First of all, "Thank You!" to the women with little girls who outgrew sized 3t-4t and were wonderful enough to donated them!

Second of all, "Sorry" to you guys for the crappy cell pics. My camera had a dead battery.

Now on to my proud haul from today's thrifting trip:


2 shirts, skirt, and leggings

I tried to get things that coordinated with each other or things she already has. Leggings under a skirt is a cute layered look and a great way to extend summer skirts into the next season.

Here she is in the yellow and navy outfit- total=$3 for shirt, skirt, and leggings


And here is what I did with the navy one- total= $2 for navy shirt and jeans


This was really easy. I just sewed the white sleeves onto the navy one. The cupcake shirt was ruined by an encounter with Ms. Thang's make-up bag. This will extend summer shirts into the next season, or summer shirts bought off season at a cheaper prices can now be used through the winter.

Here are more clothes I got thrifting today.

1 dress, 4 leggings, 1 skirt, 1 jeans, 1 shirt

She has the perfect long sleeve shirt to go under that flowered dress, and all the leggings coordinate with other outfits she owns as well.


3 shirts, 1 capri, jeans, pants

The white w/pink flower blouse and the green capris (has polka dot cuffs, so cute) are a little large. I bought those for next year.

The black glitter jeans with embroidery hearts, not my fav, but Cutecumber loved them.

Here is what I did with two of the shirts pictured above:


Again, this was super easy. The nemo "jacket" was part of a dress set, but the bottom was torn on a swingset chain (dangerous btw!)I just cut and sewed the arms onto the other shirt. The new creation is a little large, but in a month it will probably be just right. Only cost me $1 for the shirt and $1 for the jeans.


Guess who was ready for bed? lol This time I used some old leggings that were too small and used them to create the long sleeves. $1 for the shirt, and the brown pants were already hers.

The last bit from today's trip:

pjs, 1 shirt (solid black long sleeve), 1 skirt, 2 leggings

Old Navy christmas PJS (these look like they have never been worn and might end up wrapped and opened on Christmas eve, our family tradition for Christmas PJs)

**Not pictured, princess nightgown, Cutecumber is wearing that now lol

Everything is in great, to like-new condition except both blue jeans and the brown and the black leggings which are in good-used condition. A little fading here and there, but no holes or stains.

So that is:
7 shirts
1 dress
2 jeans
1 pants
1 capris
8 leggings
2 Pjs
and 3 skirts for under $25!

I just have to make some coordinating hairbows and my girl will be stylin' like the trendiest toddlers at a fraction of the price.

Saturday, September 10, 2011

From Frame To Couch

Today I found a beautiful framed embroidery piece at Helping Hands. I've always been drawn to them (especially the floral) but they are usually FILTHY and how can you clean them? Honey has terrible allergies and the dust collectors never get to come home with me.

Then I saw a fantastic idea on a blog, (don't remember it drat!) where a woman had taken the embroidery out of it's frame and turned it into a decorative pillow. WHICH CAN BE WASHED!

So after this light bulb moment, I couldn't find any more pretty pieces (of course). Some are just so ugly. I hate using that word because so much hard work went into them, but it does make me wonder if most everyone in the 70s was colorblind. It's also the type of thing that really borders on the "This should be in an old ladies house and not MY house" direction, but also gives a feeling of elegance when you decorate with such a detailed piece and the work put into each leaf and petal is beautiful and full of love. There is a story and warmth behind this type of artwork that I just can't help but appreciate.

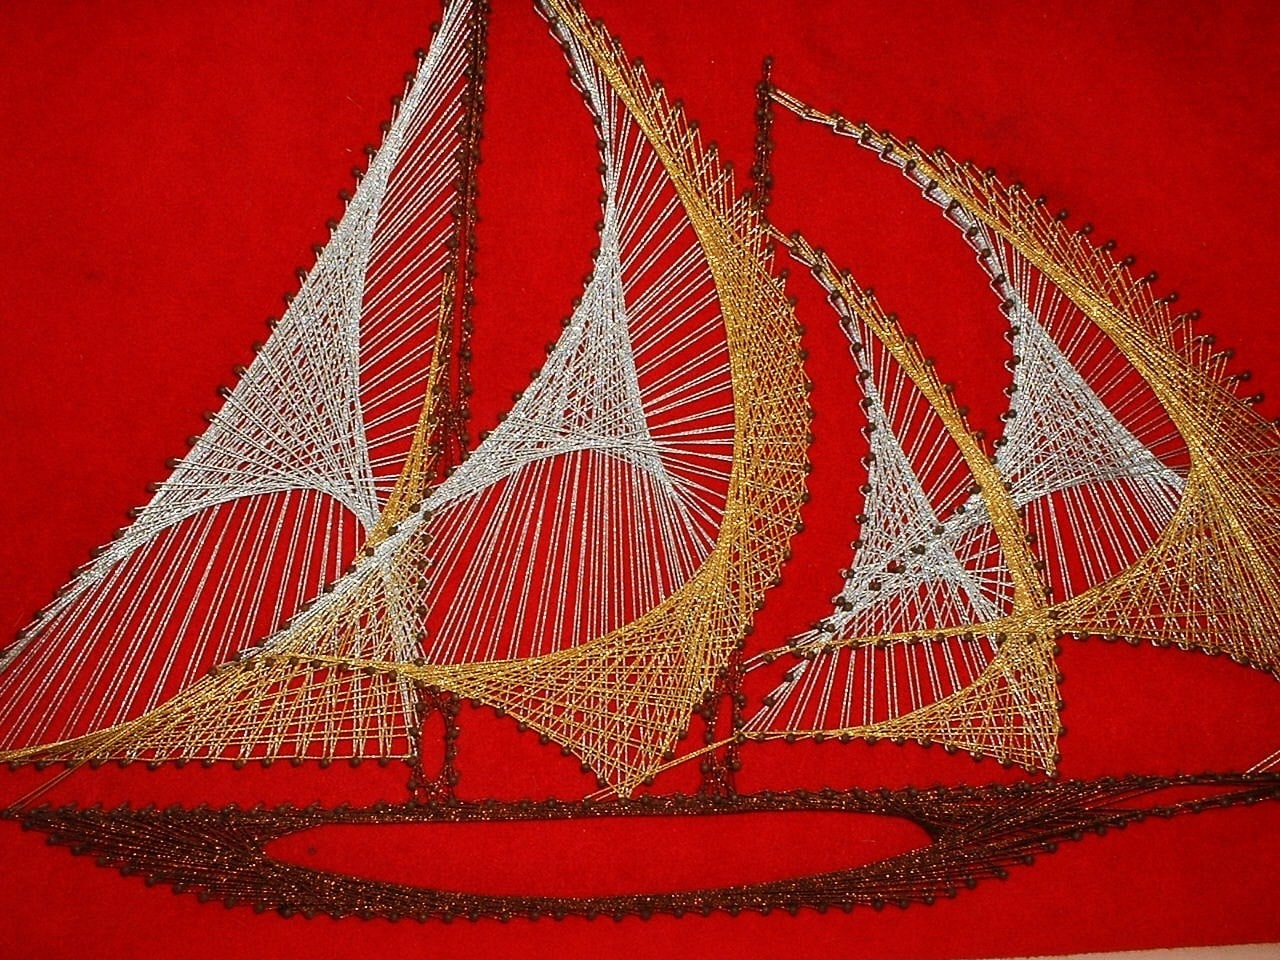
I found the perfect combination of all those things today, hiding behind a string-and-nail art piece (that was actually made with thin copper wire on black velvet) of a horses head. Another type of tedious/meticulous art that I haven't found a fondness for quite yet. :/

I brought it home ($1!) and hung it on the wall in my kitchen for this picture, which didn't turn out that well and makes the coral colors look a little rusty orange, but it's my only before shot. It's all done on a burlap-type material.


It kind of made me pause for a minute wondering if I really wanted to take a chance of ruining it in the washing machine or taking it out of the frame because the coral colors and greens really went well with my persimmon Fiesta ware, but it was just so filthy it had to be washed either way.

Here is a closer shot of it before it was washed. Filthy but beautiful. A diamond in the rough.


It was framed really well and it took a little work to get it off (sewn tightly around a piece of particle board) but once i had it off, it was as easy as 1 2 3.

1. Take it out of the frame.

2. Throw it in the washer. I skipped the dryer and just laid it out and it was dry in 10 minutes.

3. Find some scrap fabric for the back, sew it and stuff it!


Ta-da!

It was so exciting to see the colors when it came out of the washing machine. The corner has initials and the date '77. Thank you G. F., it's beautiful!

Ps This is my first pin on Pinterest!

Wednesday, March 30, 2011

No-Sew Jean Repair

The Scientist is notorious for getting holes in the knee of his jeans. I tried THIS method and failed because his legs are so skinny and my machine doesn't have an arm that turns so it's impossible to sew it without sewing the backside to it (or at least impossible to ME). So I came up with a cute no-sew way to make his jeans last just a little longer until full-blown short season.

You need:
*ugly iron-on knee patches (I got mine at Albertsons on sale awhile back, but you can find them just about anywhere)
*Scissors
*Iron
*Holy jeans

Instructions:
*Cut shape out of patch
*Iron on (with a square piece on the back for reinforcement)

Result:

No more hole :)

Friday, March 18, 2011

Finished the second quilt

Took me long enough right? It was all cut, I just needed to sew it together. I'm happy to be done with it and have the fabric out of my way! I used tons of zebra print for this one (per Ms. Thang's request) and I think it turned out well. The two really complement each other.

The room still has a long way to go, but I'm chipping away at it. It has been decided that the corner at the foot of the bed is Cutecumber's section, for toys etc...

and the opposite corner, beside the dresser will be for Ms. Thang and she is wanting a reading nook. Speaking of that dresser, remember how I made an awesome deal, trading my tall narrow chest of drawers, for long dresser yesterday? Well I could use some advice on how to redo it.

This is how it looks now:


I am wanting to paint it and add cute knobs. I fell in love with some from Hobby Lobby that my friend Crystal used to make her back-pack station. She is really awesome and should start a craft blog of her own (hint hint).


Beautiful right?! So imagine those or something equally similar on the dresser. Now for the hard part. Choosing how to paint it. The whole thing is solid wood except the very top piece which is a high gloss laminate to protect from scratches. It isn't impossible to paint laminate, but it's a lot of work. I'm willing to do it, but first, lets think through all of my options.

I really only want to work with these 4 colors.

1. turquoise- I'm willing to go lighter or darker, but staying in the same family as the wall color
2. natural
3. black
4 red
I could do white, but I ALWAYS do white. I want to try something different.

The easiest thing, would be to leave the body of the dresser natural and only paint the drawers. I I like this idea, but that natural color really looks yellow in the room and I don't know if I can make it work. I think I'm going to have to bite the bullet and sand the whole thing, primer and paint.

I still have multiple choices though. Painting the entire thing in one color or painting the body one color and the drawers something else. I've seen some with multiple colored drawers but I don't think I want to go that route. It's a little much for me, seeing as how I'm taking my first baby step away from white. I also like the idea of vinyl decals on the drawer fronts.
Here are just a few of the options I have:


And then there is the whole to distress or not. I'd love your opinions and ideas, but Ms. Thang will weigh in heavily with her opinion as well. sigh... This could take awhile.

Thursday, March 17, 2011

Happy St. Patricks Day!

What a fun day we had! Aside from missing Ms. Thang (at her dads) it was a great day.We were invited to lunch at my Mother-in-laws house and I decided to go all out with the green. I went to Hobby Lobby yesterday and picked up some supplies.


2 green shirts
1 green bandana
I also used some iron on letters I got at a garage sale (seriously best place to get those) and some ribbon I had on hand.

45 minutes later I had these:

Not too bad! I know there are better ways to do the tie shirt and ruffles, which include scary things like fuse-able web and elastic thread, but I just went for it and thought they turned out pretty cute.

The kids looked super festive as we headed out the door and we were greeted by a little poodle (no tags) sitting there as if it knew we were about to walk out. I actually had to crop it out of this picture because it kept jumping up on their laps. This isn't the best pic, but the only one I took that shows the front of their shirts.


Ok, now Im feeling super guilty about the dog. It was lost and I was mad at the thing for getting in my pictures and distracting the kids. Here he is...

Ok I feel a little better. I hope he found his way home...

On to cuter things. Forced hug photos!


Lunch was so good we stayed over through dinner. I also made a fantastic trade with the sweetest gal. (If you're reading HELLO! )We swapped dressers. She made a post on a mommy board about wanting to trade a long 6 drawer dresser for a taller one and I had what she needed and wanted what she had. I'm thinking of doing a little makeover on it so I'll post more about it then. Hopefully soon, but if you know me, when I say soon I mean weeks or months. Still working on that other quilt.....

Happy St. Patricks Day!

Friday, February 11, 2011

Bit more cause I'm proud

Here are a few more pictures of Cutecumber's quilt. I finished tying it off and am ready to start on Ms. Thangs quilt tonight.

Of course my entire yard is shaded but whateryagonnado?

(click to enlarge..you know you want to)

I am SO happy I took Katie's advice and went with the black ties. It really makes it!


I think we have narrowed it down to 2 on a paint color. It's going to be either Shimmering Summer Pool or Lyric Water Dance from Walmart. (wish they had their colors online!)

I also plan on doing this type of board and batten on the lower half of their wall since it already has a chair rail.


And hopefully the bunk beds will come in soon:

It's all coming together. Any suggestions on wall art?

Wednesday, February 9, 2011

One down, one to go.

I finished one of the comforters for the girls room. This one is Cutecumbers. (sorry for the poor lighting but it's cold and I don't want to do one outside)


Here is a better shot of the fabrics:

Not the cutest out there, but the cutest in my colors and price range. ;)

I'm pretty happy with it. It's FAR from perfect, but it's a custom quilt for super cheap. Here is a little numbered break down of what's going on and how I did it.

1. This fabric is actually a thick curtain that I got awhile back on something like Craigslist. I got 4 of them and plan to use two as actual curtains in the room and then one cut and used on each of the quilts. There are two solid bands of this fabric on the quilt and a few squares of it here and there also. Doing the solid bands cut my "quilting time" in half.

2. My squares do not match up perfectly, but imperfect means "made with love" in my book. I want to add the yarn ties to it, but with the squares being off, I'm having a difficult time deciding where they should go because normally they go wear the corners all meet. I'm thinking white or black yarn.

3. I got the teal (its more green than it looks in the photo) flannel for the backing in a section of bolts for $5 in Walmart and there is enough on the ONE bolt to do both quilts. The other fabric was in the bin of scraps or on serious discount.

I am too cheap to buy batting so I used these blankets from Walmart on sale for $7 each and cut them to fit inside. Here is a quick tutorial on how I did it.


It has a really nice weight to it. (I would NOT suggest getting these blankets for anything other than and under blanket because they pull apart and leave gaps and there are strange discolored areas too fyi.) Then I just sewed it all up, turned it right side out and sewed around it again for a little added support. Hard to see here, but this is a close up of #3 in the picture above and shows the border.


I made it a little on the small side because bunk beds are a pain to make, especially if the comforter is large. I cut about a foot off along the edge of the Scientists comforter and sewed it shut for a better fit. Now if I can just do this again for Ms. Thang. Hers has the same fabrics, but she is adding zebra print to the mix of course and I'm going heavy with it. :)

Friday, January 28, 2011

Blanket tutorial

Here is a quick tutorial for THIS blanket. Click to enlarge. Hope it helps Crystal :)

STEP 1 -This is how you layer the blanket before sewing it together.


STEP 2 - Sewing only 3 sides so you can turn it right side out. Trim extra fabric along the seams before you turn it.


STEP 3 Turn it right side out and it basically looks just like you want it to, but with one open end.


STEP 4- sew the open end closed


STEP 5- Add a border for extra security. I sew it as close to the outside seam as possible.

Good luck! Their are probably much easier ways to do this, but I made this up as I went along and it worked for me. If anyone has tips..Lets hear em!
Related Posts Plugin for WordPress, Blogger...